Account Settings
Setting up your Account Settings.
The purpose of the following pages is to setup all of your internal systems, with the ability to tailor them to your liking. You are able to change your company name, the colours that you want to use throughout the portal. This functionality also extends to being able to have a unique setup relating to how people on the portal can apply for certain leave.
The portal account settings are only accessible by HR Administrators or Bureau users, and some options cannot be changed from the portal menus, there are however setup when you get your portal.
Navigation
Company Details
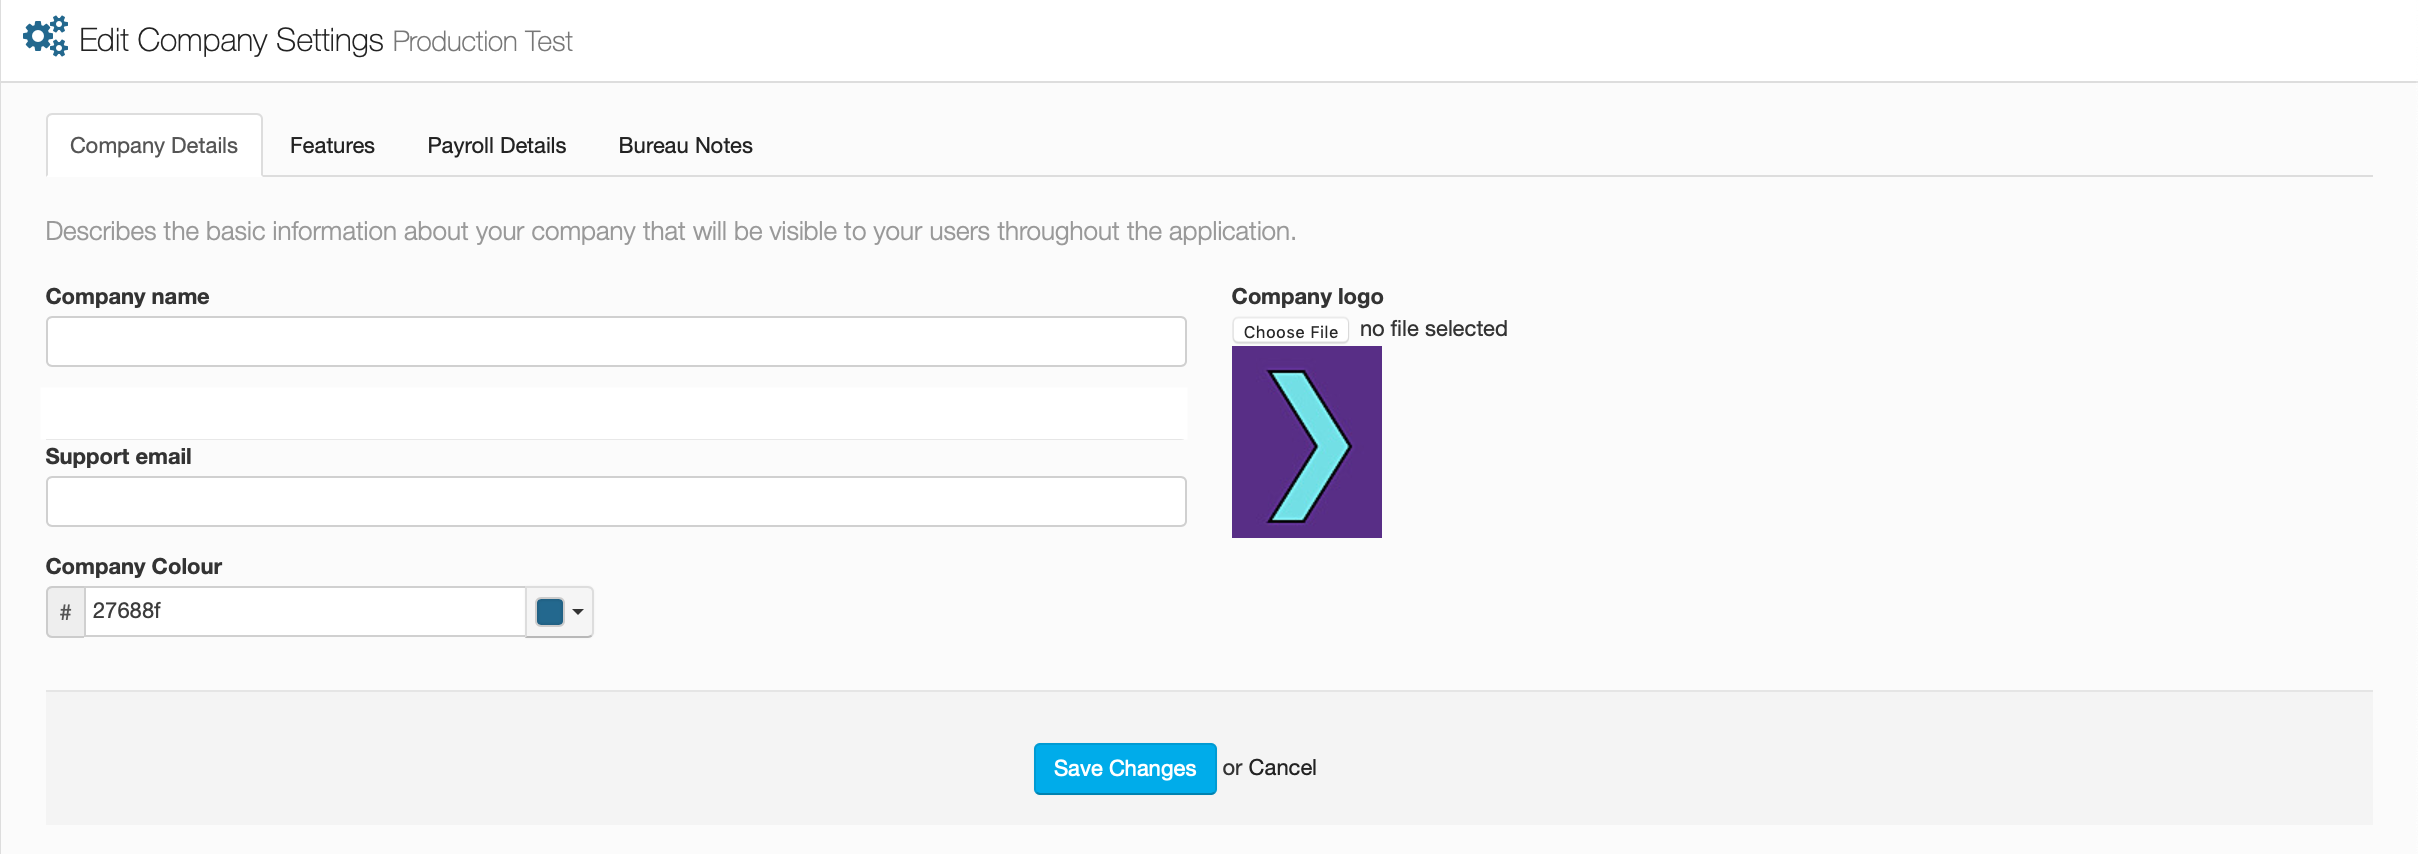
Company Name, Logo and URL
This bar is for you to enter your company name, this will be visible on every page of the portal. You can also upload your company logo with the 'Choose File' button next to the bar. This will bring up your computer files for you to select the logo image.
Underneath these two options is a greyed out bar, this contains your companies URL link for the portal. This options can not be changed from within the portal.
Support Email
This bar is where you enter the email address that you want to receive notifications.
Company Colour
The small dropdown arrow on the right of the bar is where you select the colour that you want visible throughout the portal, Once you have selected a colour that you want, the hexadecimal code will be shown in the bar.
Features
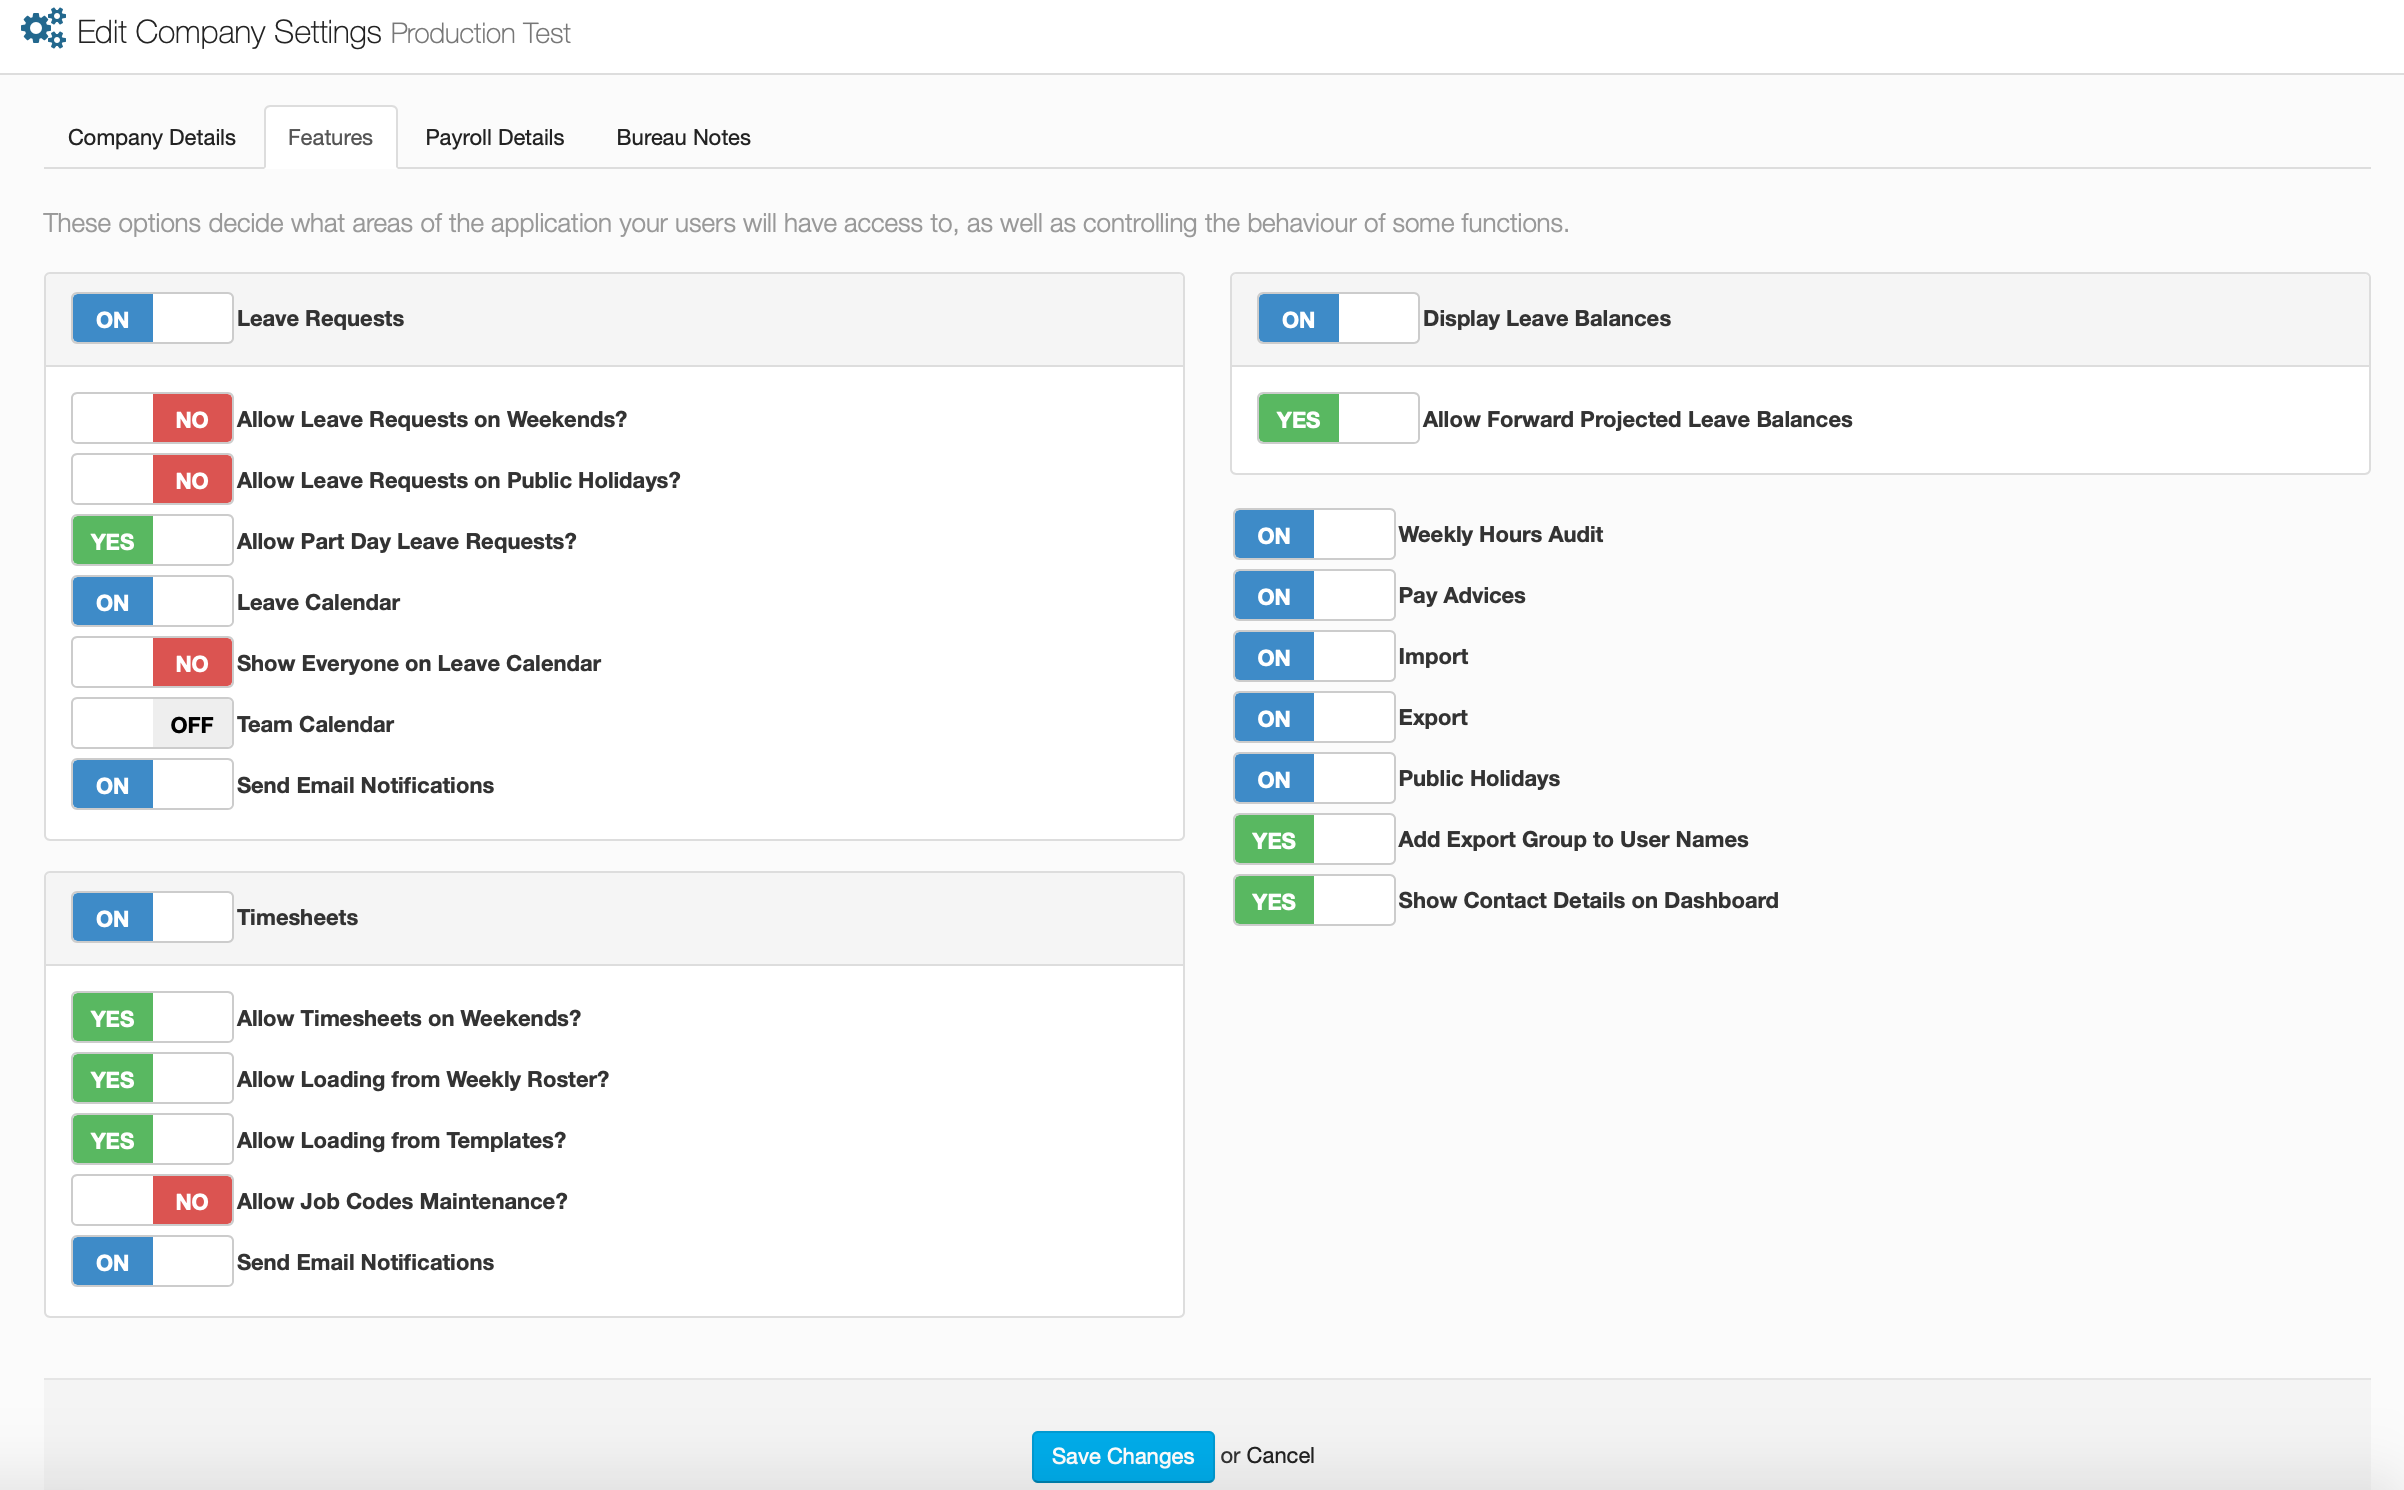
Leave Requests
This section of options is for managing how leave requests are handled within the portal, ranging from whether leave requests can be made for weekends, up to whether email notifications get sent to the appropriate people after a leave request has been applied for.
| Allow Leave Requests on Weekends? | Select whether or not users can apply for leave on weekends | |
| Allow Leave Requests on Public Holidays? | Select whether or not users can apply for leave on public holidays | |
| Allow Part Day Leave Requests? | Select whether or not users can apply for part day leave requests | |
| Leave Calendar | Select whether or not the leave calendar is active on the portal | |
| Show Everyone on Leave Calendar? | Choose to show everyones leave requests on on the calendar or not | |
| Team Calendar | Choose to show the team calendar on the dashboard | |
| Send Email Notifications? | Select whether or not email notifications get sent out after requests |
Timesheets
This section of options is for managing timesheets within the portal, essentially with allowing timesheets to be requested on different days, loading from external sources and notifications.
| Allow Timesheets on Weekends? | Select whether or not timesheets can be requested on weekends | |
| Allow Loading from Weekly Roster? | Select whether or not timesheets can be loaded from a weekly roster | |
| Allow Loading from Templates? | Select whether or not timesheets can be loaded from templates | |
| Allow Job Code Maintenance? | Select whether you can perform maintenance on imported job codes | |
| Send Email Notifications | Select whether or not email notifications get sent out after requests |
Leave Balances
These two options are here to define whether you are able to see any of your leave balances, this option will override the setup under transaction types. You can also select if you want your employees to be able to see forward projected leave balances.
General Options
The options on this side cover a broad spectrum of the portal, not being defined to one area, these allow you to control what is ad isn't visible on the portal.
| Weekly Hours Audit | Select whether the Weekly Audit is visible on the portal | |
| Pay Advices | Select whether pay Advices are visible on the portal | |
| Import | Select whether Importing is available on the portal | |
| Export | Select whether exporting is available on the portal | |
| Public Holidays | Select whether Public Holidays are visible on the portal | |
| Add Export Group to User Names | Select whether users export groups are visible in any contact details | |
| Show Contact Details on Dashboard | Select whether all users contacts are visible on the dashboard |
Payroll Details
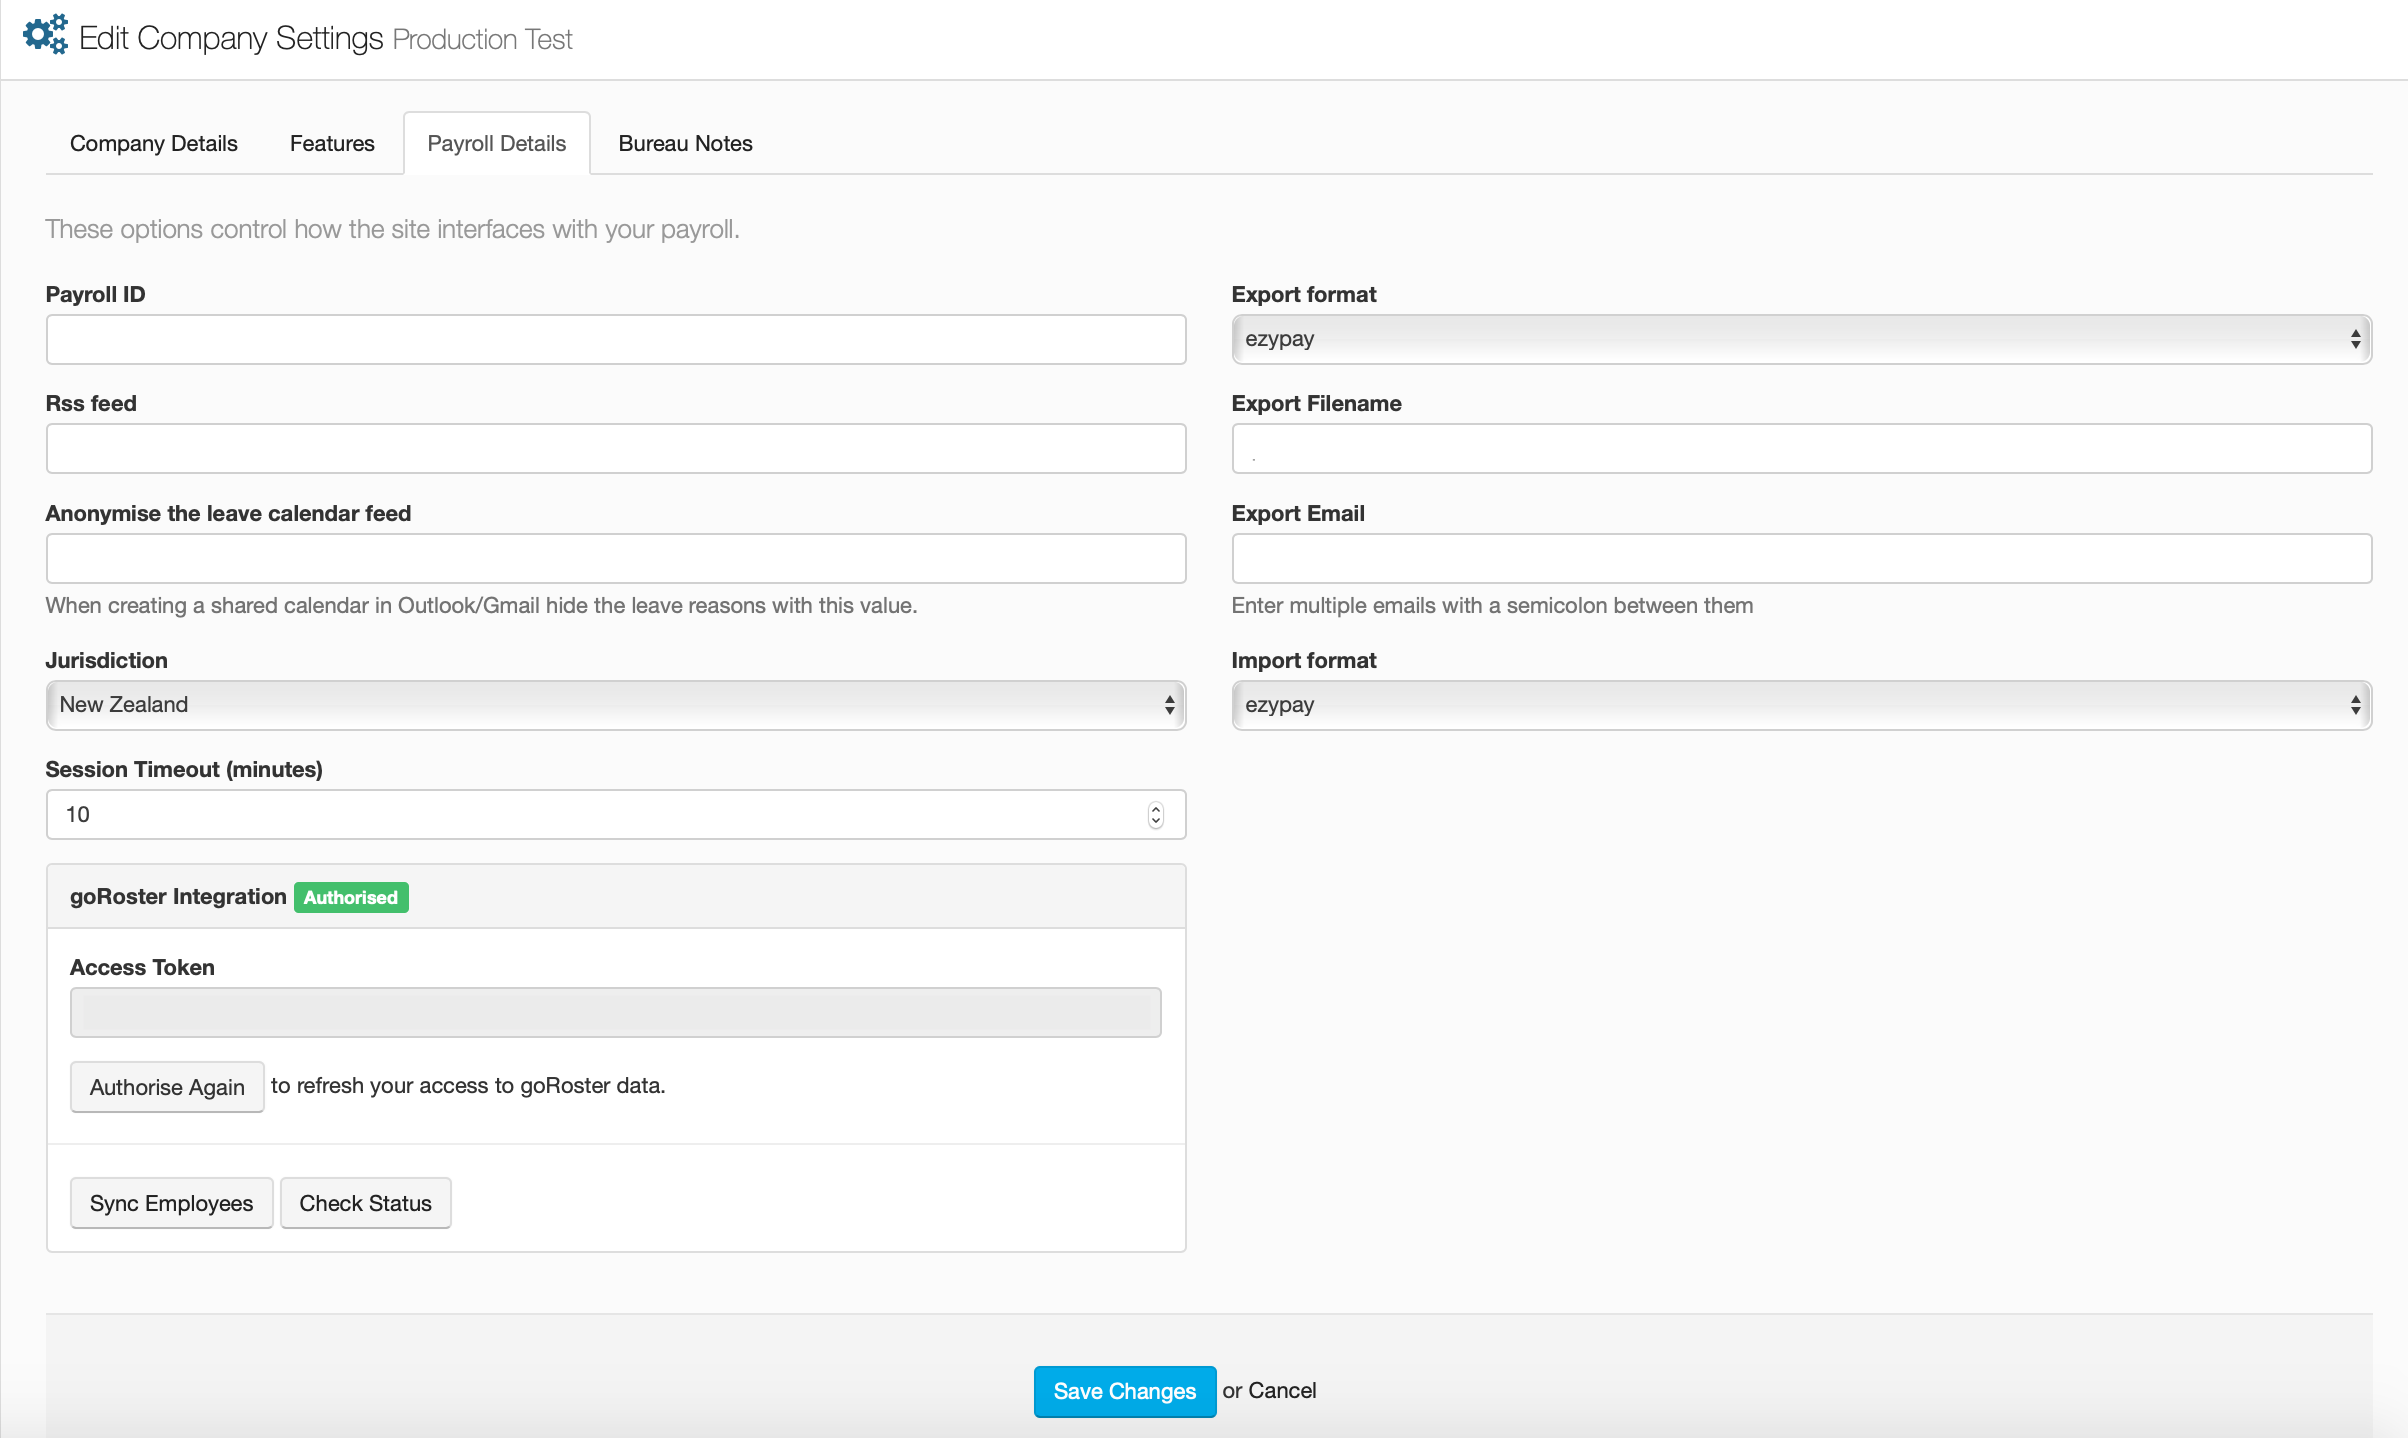
This screen is for the maintenance of your payroll identification details, here you can change the ID of your payroll on the portal, set your jurisdiction, change or add your exporting details. You also have the token screen for goRoster, which is where you activate and authorise your goRoster integration.
| Payroll ID | This is where you enter the ID that is used by your payroll | |
| RSS feed | This is where you enter a specific URL to show a RSS feed on your dashboard | |
| Anonymise the calendar feed | If you have a shared leave calendar, hide the leave reasons with the description here | |
| Jurisdiction | Select which country your payroll's jurisdiction falls under | |
| Session Timeout (minutes) | Select how many minutes will pass on the portal before you are logged out | |
| Export Format | Select the export format, which falls under which payroll system you are using | |
| Export Filename | Enter the file extension you want added to any exports that are made | |
| Export Email | Enter the email address that you want exports sent to | |
| Import Format | Select the import format, which falls under which payroll system you are using |
goRoster Integration
goRoster is a tool that is used to help employers manage the rosters and financial data of their company better, with using goRoster on the portal, it allows you to setup rosters beforehand on goRoster, enter your access token into the provided bar, and synchronise your employees rosters with the appropriate sections on the portal, allowing for a seamless transfer of data.
Bureau Notes
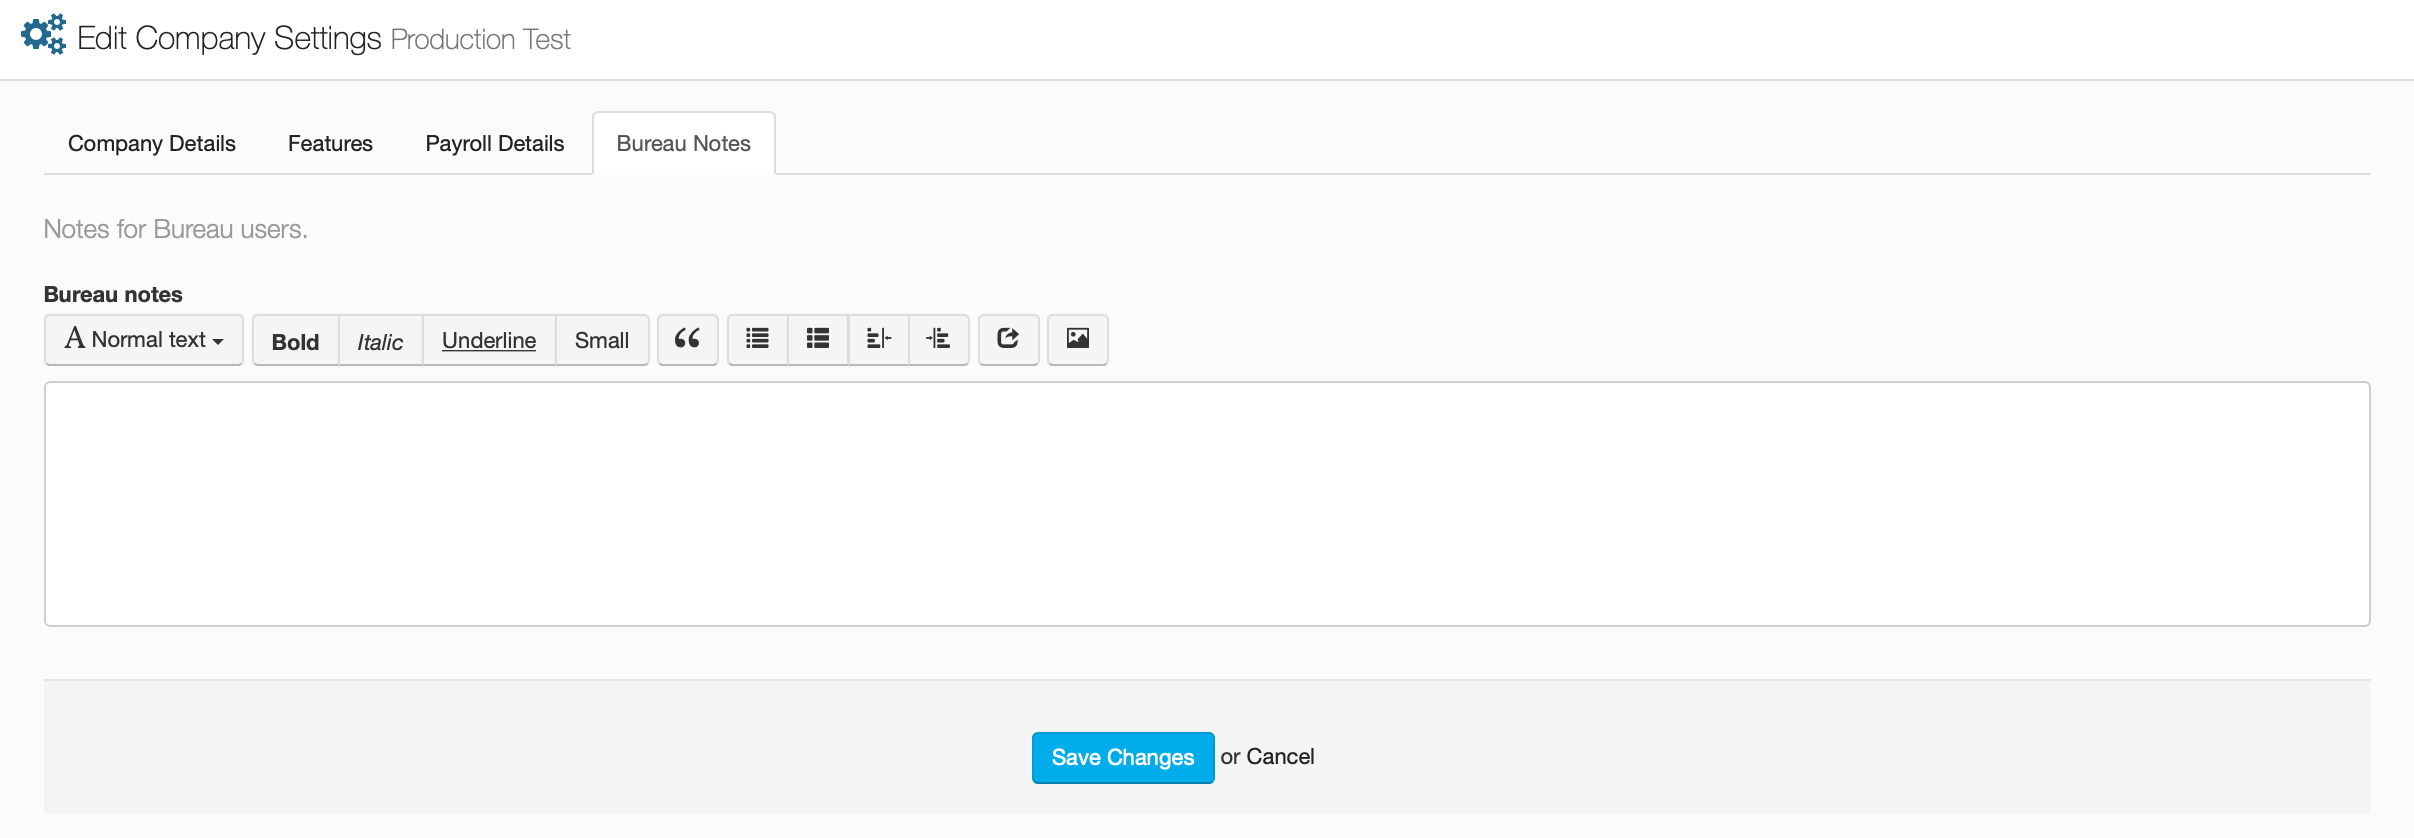
The section is specifically for Bureau users, if they need to convey a message to the whole portal. Bureau notes will show up on every page and can only be removed by a Bureau user.
These messages have the same formatting as company messages, and will show on the portal with the same formatting, just with the exception that they can't be removed by viewing them.