Managers Guide
A Guide to using the portal as a manager
This is a comprehensive guide built for Managers to help you to understand and navigate the portal effectively. This guide will cover all of the information that you will need to know to use the portal. Managers have access to personal and team leave options on the portal, the below sections will help you understand the individual segments.
Contents:
- Logging in to the Portal
- Functionality of a Manager
- Overview of the Portal
- Portal Menus
- Leave Requests
- Add Leave Requests
- Leave Balances
- Leave Calendar
- Timesheets
- Rosters and Templates
- Reports
- AdHoc Reports
Logging in to the Portal
This will be your first step into using the portal, accessing it by using your payroll ID code and a password.

Enter your payroll ID in the first box and then your password in the second box. The payroll ID will be the code you use in your payroll, or your name, depending on how it has been setup.
To set your password the first time, click on the password reset link in the previous paragraph, which will redirect you to this screen.

All you have to do is enter your payroll ID, the system will search for a corresponding email address that fits your user ID, and will promptly send out a reset link to your email address. Just follow the instructions within that email and return to the portal login, enter your new password and you will have access.
If you have forgotten your password, simply follow these instructions to reset your password.
When you have entered both fields, click on the 'Sign In' button.
Functionality of a Manager
As a manager on the portal, your main task will be to maintain the leave requests of your team as they are requested. You will have access to leave requests and balances, so you can see if your team is able to successfully apply for leave.
You also have access to the leave calendar, timesheets for yourself and your team as well as some options on the reports page.
Most of this information will be visible on the dashboard of the portal for easy access, however, the portal also contains pages for everything, which will be covered in this guide.
Overview of the Portal

The Dashboard
This is your dashboard, it shows you most of the important information you need to know, all in one place. This will show you when leave balances, requests, timesheets and pay advices were last updated. Next you have the calendar, which shows you which dates members of your team have applied for leave. Finally you have your teams contact details, in case you need to contact the or their next of kin.
Portal Menus
The portal menus are the main segments that allow for quick access around the portal, these will of course be tailored to what you are able to see. There are two menus on the portal, the account settings menu and the main menu on the left hand side.
Account Menu
-
This menu is on the right hand side under next to your name, and will contain a variety of subsections that will help you around the portal.
Main Menu
-
This menu is on the right hand side, and contains large headers that lead to main areas of the portal that are accessible to everyone.
Leave Requests
As a manager you will have access to seeing all of your teams leave requests as well as your own. On this screen you will see all of the leave requests that have come through from your team, they will be listed by date, but there will be additional options for you to be able to filter the search for specific leave requests or people.

Applying for Leave
Full Day:

You also have a couple of other options here, one is requesting a full day of leave, which as stated, allows you to select a period of time that you want to apply for leave for. This is done by selecting the manager you want the request to go to, as well as highlight all of the days that you are applying for. Once you have done this, click on the save changes button and it will send the request to your chosen manager.
Part Day:

The other option that you have on this page is to apply for a part day. This will get you to choose the day that you want to apply for as well as the hours that you are needing off. Select the manager that you want to send the request to and once you click on save changes it will send the request to the chosen manager.
Leave Balances
This screen is rather straightforward, it has two sections to it. The first section will be a breakdown of the leave types that you have available to use as well as how much of each leave type you can use.

The second section of this page will be a breakdown of the leave types that your team has available to use as well as how much of each leave type they all have available.

These screens will be automatically updated when any leave is taken or earned.
Leave Calendar
The leave calendar is a collection of all of your teams leave requests, visualised in one place. The purpose of the leave calendar is to make it as easy as possible to see every leave request, what request it is, and who submitted it all in one place, on one screen.

On the calendar, leave types are segmented into different colours to make it easy to identify what leave type is which without having to search around for it. This is segmented even further by adding stripes to the coloured blocks if the leave requested is a half day instead of a full day.
The calendar can also be segmented into only showing leave under a specific filter, if you are looking for anything specific, also, you can select how many entries you want tube visible at the same time without cycling pages. You are also able to use the search bar in the event you are looking for all the requests of a single employee.
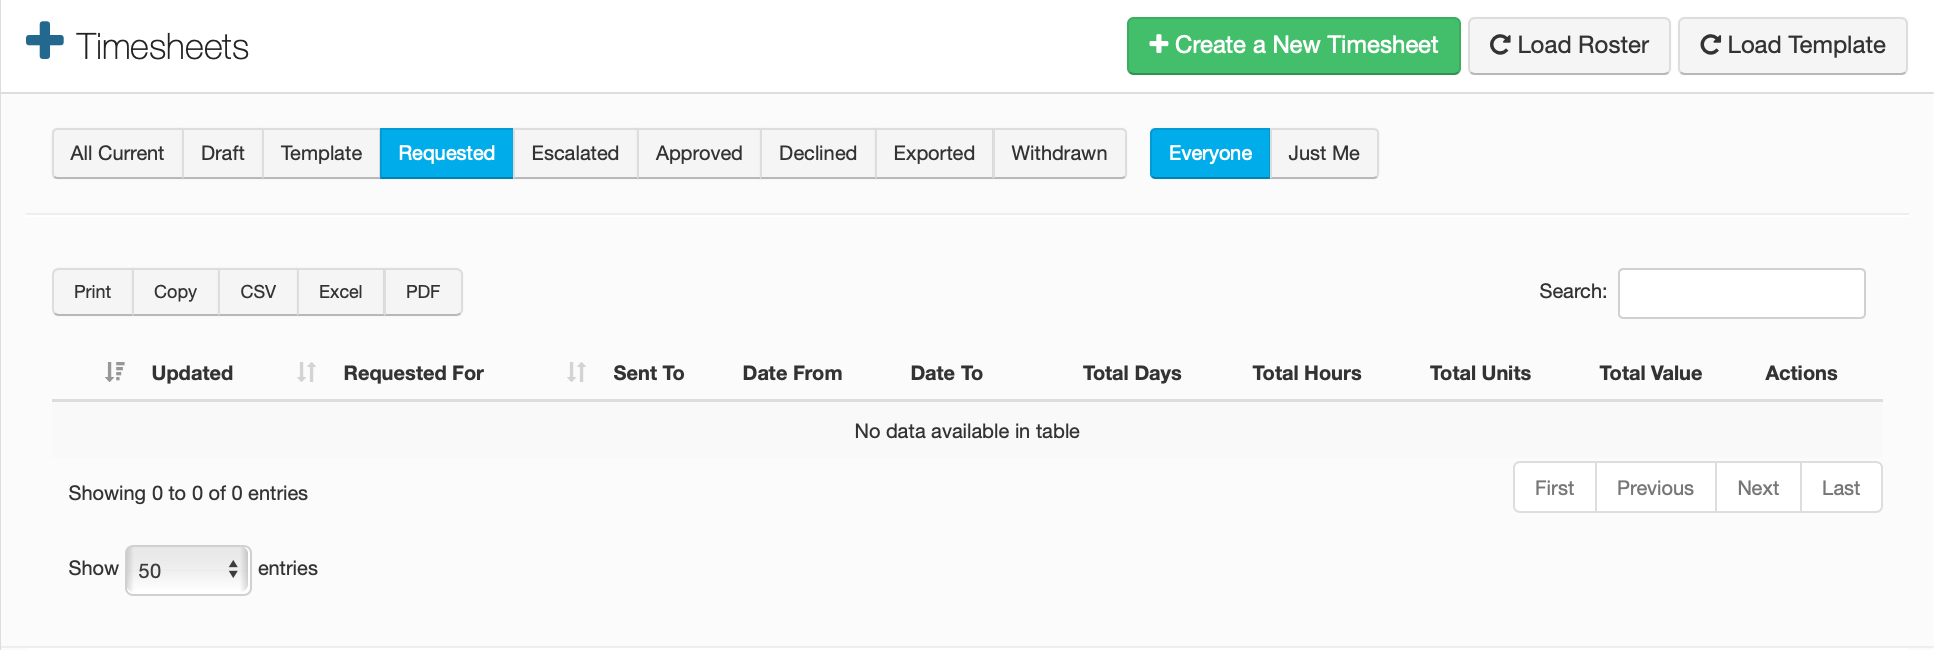
Timesheets
This is the timesheets page. It will list in a table all of the information about any requested timesheets that have come through, you can also check any of the timesheets that have been approved, declined, escalated, etc. All of the adjoined pages are accessible by everyone on the portal.
 Timesheets are an integral part of the portal, especially as a manager. Timesheets are used for recording requests and transactions that are not classified as a leave requests, such as 'Hours for as overtime' or 'Commission', etc. Allowances can be attached to job and work codes also.
Inside of this table are various columns that are used to make reading timesheets easier, such as when they were created, the date to and from for the period, total days, etc. On the right side are a few tools that allow you to manipulate the timesheets, such as editing, approving and withdrawing.
Creating a New Timesheet
To create a new timesheet, click on the green button in the top right corner, this will bring you over to the appropriate screen that will allow you to make timesheets and templates.

This is the screen for creating a timesheet, this is showing an example of a commissions timesheet. You would select which employee it is for and which manager it is going to, with an optional comment if you want to add it in.
After that you need to add the date that the timesheet is for, select which value type your timesheet is and the amount that this value is worth. You also have some optional boxes you can fill in if you think it is necessary. Once this is all done, you can either add a new line if your timesheet is covering more than one value.
Work Area Code:
If you are setup under a specific work area, you can enter the code for it here.
Job Code:
If you are setup under a specific job code, enter it here.

Now you need to either save this as a draft if you don't think it is done, save it as a template which you can load later or save the timesheet and submit it to the main timesheets screen ready for your manager to approve it.
Loading timesheets from a Roster or a Template
You may notice that there is a couple of buttons in the top right corner next to create a new timesheet called 'Load Roster' and 'Load Template'.
Loading timesheets from a roster:
In order to load a timesheet from a roster, click on the 'Load Roster' button, this will bring up a new box with a couple of options inside of it which will look like this:

What you need to do here is select the employee that you are wanting to load in, how many weeks you are wanting to load for the employee and the date that you want it to run from. Also, if you have any templates setup for this employee, you can choose to include them with the roster load. When you have selected all options, click 'Load Roster'. You will then have the roster loaded into the timesheets.
Creating and Loading Templates:
If you are wanting to create a template for an employee, click on the 'Create a New Timesheet' button, this will bring you to where you can make a new timesheet, when you setup up the new timesheet, instead of clicking on save, click the 'Save as Template' button. This will allow you to then load the timesheet on the main page.

Clicking on the 'Load Template' button will give you this screen, simply select the employee you are wanting to see the template for then press the 'Load Templates' button. They will now be visible on the main table.
Reports
Reports are used by all users of the portal to do a multitude of tasks. The first being the ability to bring up and look at your statement of earnings, this will give you a detailed summary of what you have earned with your company from your start date. This is available to all users, however, being a manager or above gives you access to a new set of reports, the Ad Hoc Reports.

Statement of Earnings
The statement of earnings reports will look like this, and will provide a detailed breakdown of your total earnings since your start date, this report is only visible to you, and you cannot check other employees statements of earnings.

AdHoc Reports
These reports will list all the required information underneath their appropriate category, those categories are listed below, each one provides you with the information stated for every employee in your team. The menu for these reports will look like this.
Leave Requests

This report will show you every leave request that has been applied for by everyone on your team, from the very first leave request right up to current ones.
Timesheets

This report will show you every timesheet applied for by your team, from when the first timesheet was applied for, up to the most recent.
Leave Balances

This reports will detail all of the leave balances for your team, across every leave type.
Users

This report will show you all employees that are under your team, including any who have been terminated, in the event that you need past information.